Family
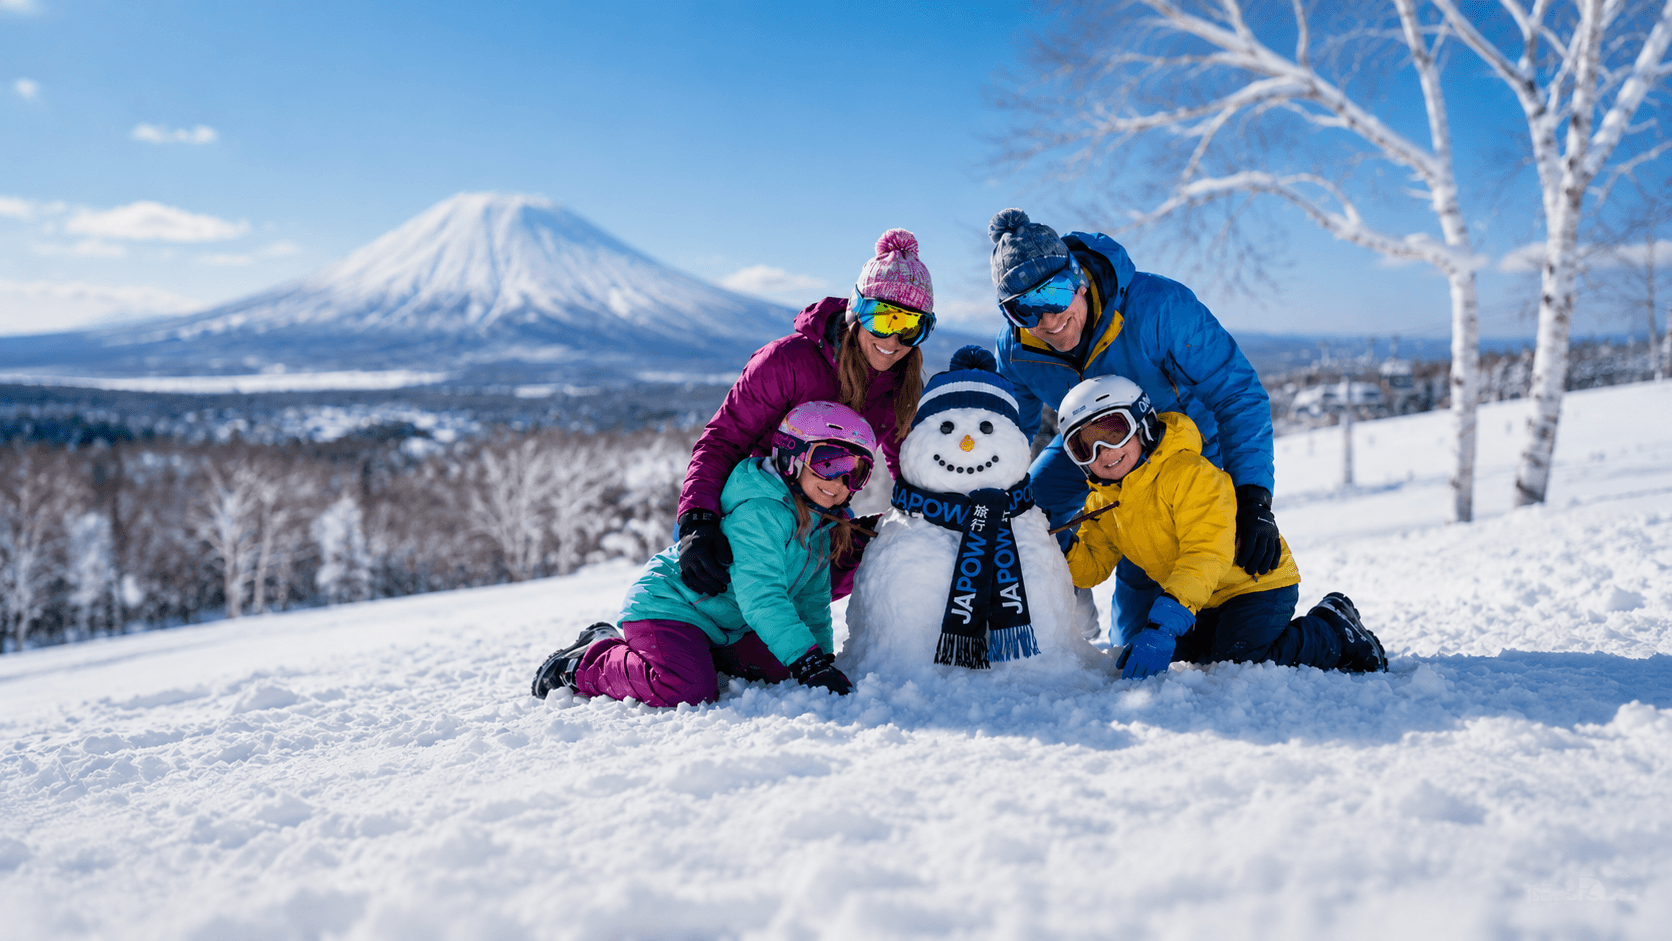
Family Ski Trip in Japan
Plan a family ski trip to Japan with advice on kid-friendly resorts, easy logistics, ski schools, accommodation, snow conditions, and where to base your crew.
Plan trip

If you’re thinking about backcountry or sidecountry in Japan, avalanche gear is not optional. It’s part of the ticket.
Resorts with gate-accessed terrain, like Niseko and others, are very clear: once you leave the controlled area, you’re on your own in unpatrolled, unmanaged snow. At that point you’re in avalanche terrain, and your group needs to be ready for that reality.
This guide has two jobs:
It is not a “how to rescue someone” manual and it is not a replacement for an avalanche course or a qualified local guide.
A simple rule: if you’re exposing yourself to avalanche terrain, you need avalanche gear.
That includes:
If you’re staying strictly onopen, marked pistesand not venturing off groomers, avalanche gear becomes more of a “belt and braces” extra. You’re still in the mountains, but you’re not deliberately stepping into the kind of terrain avalanches love.
The grey area is where a lot of visitors get caught: ducking under a rope, following tracks through the trees, or heading out through a gate because “everyone else is doing it”. Those decisions put you in avalanche terrain, whether you meant to go “backcountry” or not. The gear is what you carry when you’ve made a deliberate decision to accept that risk.
Avalanche organisations around the world all agree on one baseline: anyone travelling in avalanche terrain should carry atransceiver, shovel and probe, and know how to use them under stress.
Let’s break down what each one does, at a high level.
An avalanche transceiver is a small device you wear on your body. In normal use ittransmitsa signal. If someone in your group is buried, everyone else switches their beacon tosearchmode to home in on the buried person’s signal.
A few key points:
What this guide deliberately doesnotdo is walk you through search patterns and fine-grained rescue technique. You need to learn that in person, on snow, with proper coaching. What you can do before Japan is get used to operating your beacon: turning it on, checking your friends’ signals, switching to search mode without fumbling, and practising simple searches in a safe environment.
A probe is a collapsible pole used topinpoint the exact location and depthof a buried person once your transceiver has brought you to the right area.
Without a probe, you’re guessing where to dig. With one, you can quickly confirm “they’re here, and this far down” and focus your digging in the right place.
Things that matter:
Again, deployment and probing technique are best learned in a course or practice session, not from a paragraph on a website.
The shovel is what turns a fast search into an actual rescue. Avalanche debris sets like concrete; it’s not like digging in soft powder.
A real avalanche shovel should have:
Plastic toy shovels, foldable camping trowels and “it was lying around in the shed” garden tools are not appropriate. You and your partners might have minutes to move a lot of snow. The right tool matters.
Group shovelling is a big part of modern avalanche training. There are specific techniques that minimise wasted effort and time; they’re physical, but they’re teachable – and they’re not something you’ll master by reading about them once.
Once you’ve got the core three sorted, there are other pieces that add layers of safety or help your group operate more smoothly. None of them replaces transceiver/shovel/probe, but they’re worth understanding.
Avalanche airbags are backpacks with an integrated airbag that you can deploy if you’re being carried in a slide. The basic idea is to increase your volume so you’re more likely to stay closer to the surface in moving debris.
Reality check:
In Japan, you’ll see both rental and retail options in major hubs. Think of an airbag as an extra margin for when everything else has gone right: good terrain choice, good communication, good spacing. It’s not a licence to ski steeper or more dangerous lines “because I’ve got an airbag”.
Given how much tree skiing, tight gullies and variable snow Japan throws at you, a helmet is basically non-negotiable. Many guides and operators treat it as standard gear for any day that might involve off-piste, sidecountry or backcountry.
Some riders also choose to wear a back protector, especially if they’re spending a lot of time around trees, pillows and features where a fall could involve more than just soft snow.
Radios aren’t “avalanche gear” in the classic sense, but they’re incredibly useful for keeping a group safe and coordinated.
They help you:
They’re especially valuable in Japan’s forests, where visibility can be short and people can disappear from view quickly in tight trees or rolls. A simple “one at a time, call in when you’re safe” habit, backed up by radios, goes a long way.
Most backcountry checklists include a few unsexy but critical items:
They’re not avalanche-specific, but they’re what stop a small problem – wrong ridge, broken binding, rolled ankle – from turning into a much more serious situation.
If you’re just dipping your toes into Japan backcountry with a couple of guided days, renting avalanche gear on the ground is absolutely normal.
In major hubs like Niseko, Furano and Hakuba, you’ll find shops and guiding companies that rent:
That’s perfect if you don’t want to fly with a full kit or you’re not ready to invest in your own gear yet.
A few tips if you’re renting:
Many guided operators include avalanche gear rental in their day rates and will build a short beacon/probe/shovel practice into the start of your day. That’s the ideal scenario for a first timer.
If you know backcountry is going to be part of your life at home as well as Japan, buying your own transceiver, shovel and probe makes sense. It means you can practise regularly, build muscle memory on your own device, and remove one variable when you travel.
Avalanche gear only helps if you actually carry it.
Most people end up in the20–30L backpackrange for a typical Japan backcountry or sidecountry day. That’s big enough for safety gear, an extra layer, food, water and a few extras, without feeling like a massive expedition pack.
A simple packing approach:
Before you drop into anything serious, your group should have already:
Those habits matter just as much in Japan’s trees as they do in big open bowls. Deep snow and short sight-lines make it easy to lose track of people.
You’ll see the same message over and over again from avalanche professionals:
Get the gear.
Get the training.
Make a plan.
Buying equipment without investing in education and practice is like buying a parachute and assuming you’ll figure it out on the way down.
Good ways to make the gear “real”:
The goal isn’t to turn you into a pro rescuer overnight. It’s to make sure that if the worst happens, you and your partners aren’t using your gear for the first time in a real burial.
Do I need avalanche gear if I’m just skiing trees off a lift?If those trees are inside the controlled resort boundary and clearly in-bounds, the risk profile is very different to gate-accessed sidecountry. As soon as you step through a backcountry gate or duck a rope into unmanaged terrain, you should treat it as avalanche terrain and have full gear, training and a plan.
Is an airbag enough on its own?No. An airbag is a useful extra in some scenarios, but it doesn’t replace a transceiver, shovel, probe, good decisions or your partners’ skills. Think of it as an additional layer in a system, not the foundation.
If I go with a guide, do I still need my own gear?Yes. A guide is not a magical shield. Reputable guides will either require you to bring your own gear or will provide a rental kit and insist everyone carries and knows how to use it. Safety is a group effort.
Can I just rely on patrol or rescue teams if something goes wrong?Once you leave the controlled area, you and your partners are effectively your own first responders. Rescue teams do incredible work, but they can be far away, busy, or unable to reach you quickly in a storm. The first 10–15 minutes after a burial are critical; that window belongs to you and your group.
What’s the minimum I should pack for a mellow sidecountry day?There’s no such thing as “mellow” avalanche terrain if it’s steep enough to slide and has the wrong snowpack on the wrong day. If you’re going beyond ropes or gates, treat it seriously: transceiver, shovel, probe, appropriate clothing, food, water, basic nav and comms gear, plus a plan and partners you trust.
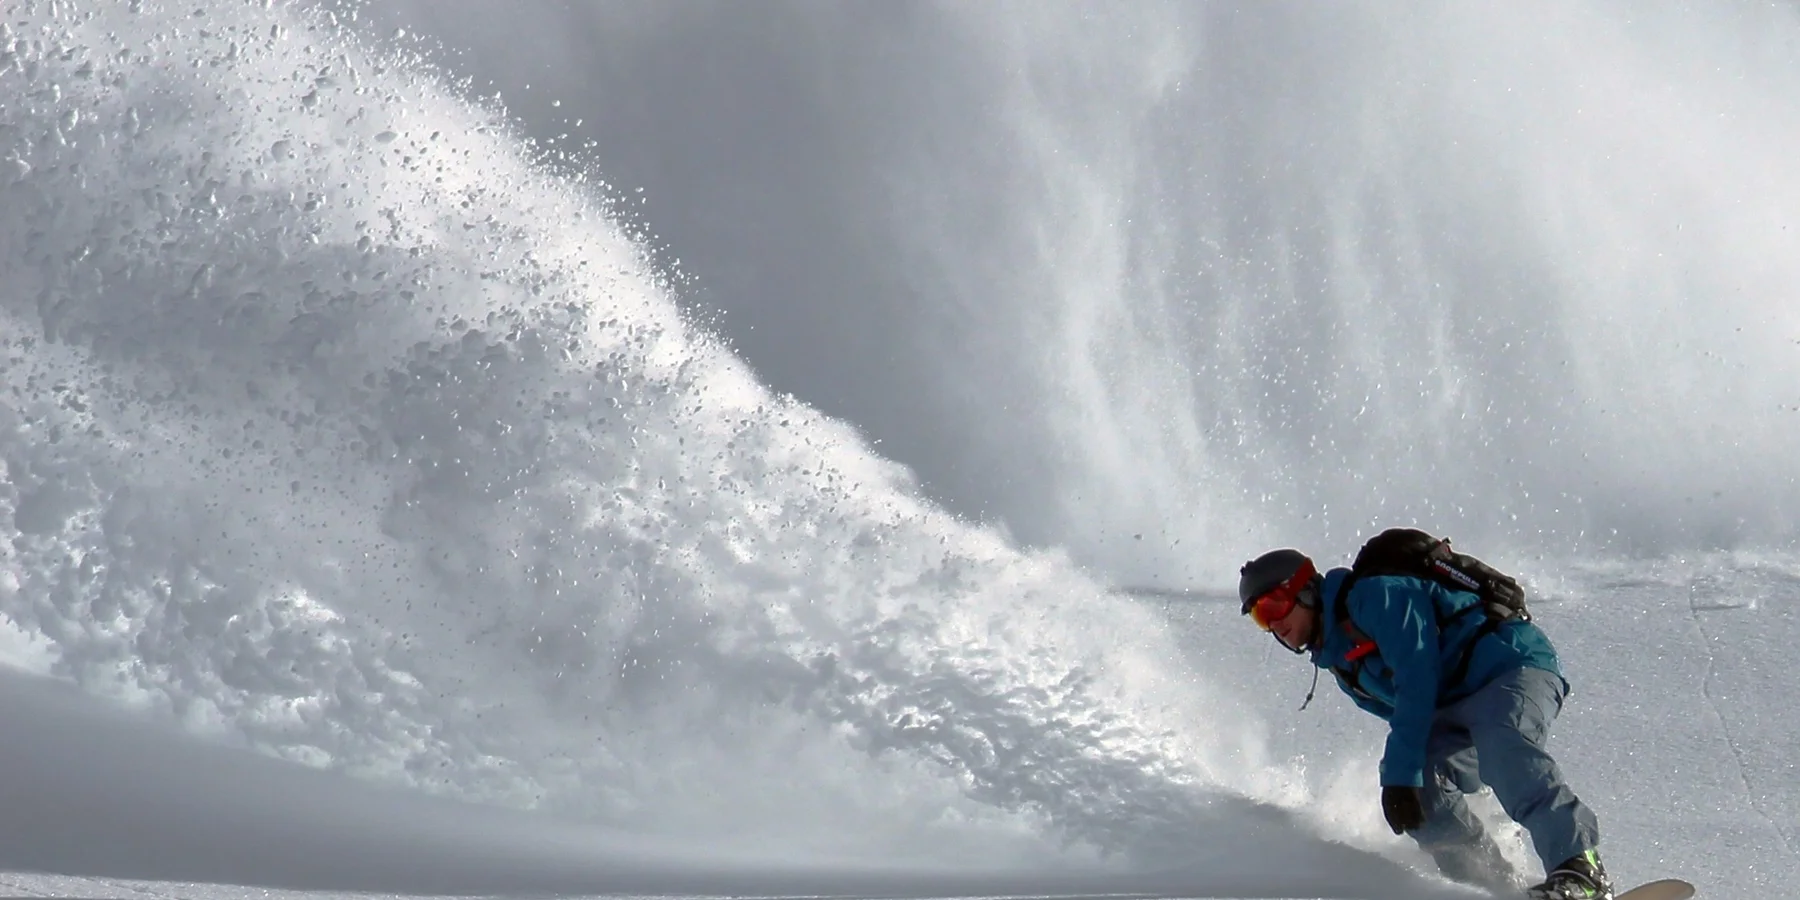
Avalanche safety gear isn’t what makes Japan’s backcountry and sidecountry exciting. The snow, the terrain and the feeling of earning your turns do that. The gear is what quietly shifts the odds in your favour when something doesn’t go to plan.
If you invest in the right kit, take the time to learn how to use it, and combine it with conservative terrain choices and solid guiding, you give yourself the best possible chance of coming home with nothing worse than tired legs, sore cheeks from smiling and too many good stories to fit in one trip report.